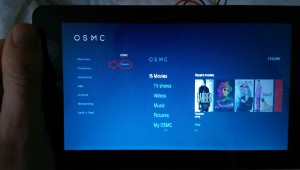
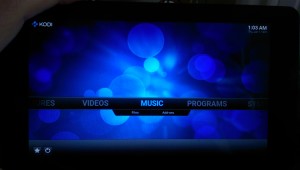
This is an ongoing project, inspired because of the ridiculous prices that many manufacturers charge for touch screen media centres in cars. Currently still in phase 3.
Phase 1 will be making a media player that can play videos/music from a USB stick or Ipod.
Phase 2 will be experimenting with operating systems including android auto . A quick experimentation into this showed android boot up times to be 60-80 seconds for recent versions. May still be able to use android auto though.
Phase 3 will be either attaching a GPS module (for use with a satnav program) or attaching a car radio itself
Phase 4 will be wiring it into an MR2
To make this you will need:
- Raspberry pi 2 (I bought this one)
- Raspberry pi 7 inch touch screen (I got mine from Here)
- 8Gb micro sd card (class 10)
- Ipod usb cable
- USB wall socket plug capable of outputting 2A (for testing before attaching to the car)
- USB to mini USB cable (android phone cable)
- 5V switching regulator (This is one others are available).
- USB DAB tuner (I bought this one)
- USB GPS device compatable with Linux (I bought this one, may be found cheaper if you search hard for VK-162 GPS module)
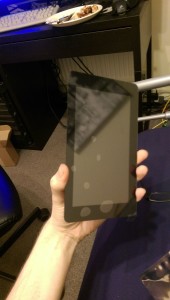
The screen when unboxed is simple enough and comes with a couple of mounts on the back
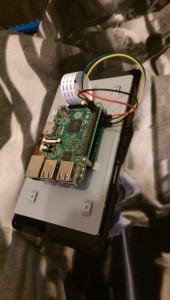
Plenty of guides can be found online which tell you how to connect the pi to the screen, I used the one linked below to help me connect every thing up.
Next step is to set up an OS and boot up the raspberry pi to ensure that the screen and all devices work. If you are running windows then the next step is to download raspbian and put it onto the microsd card.
HOW TO DOWNLOAD AND PUT THE OS ON THE MICROSD CARD
- Insert the microSD card into a computer via an sd card reader, note the drive number that it appears as.
- Download and install Win32DiskImager from source forge Here
- Download Raspbian (modified Debian) OS from Here
- Extract the .img file from the raspbian zip you just downloaded.
- Run Win32 Disk Imager (under administrator rights) and select the correct drive number and the image file you just extracted then hit write.
- Eject the sd card and insert it into the Raspberry pi.
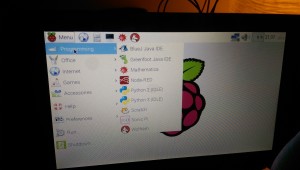
Linux users will use dd to write the image to the sd card. Power on the device and it should boot up and you can use the touch screen to select menu items.
If this doesn’t work or displays nothing recheck all connections are secure and correct.
Next download the media center image we are going to use as the basis of this build. You can download the image from the link provided here
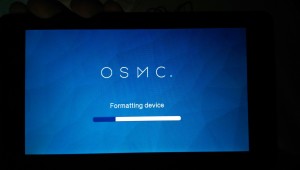
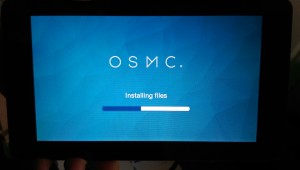
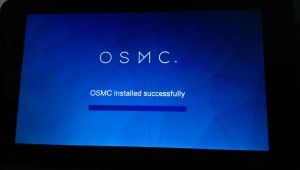
Unzip it and use the same process as above to write the image to your sd card. Then power on and the OS should format the sd card and then install itself.
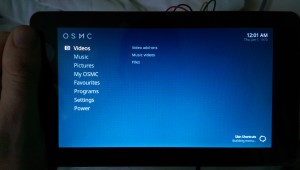
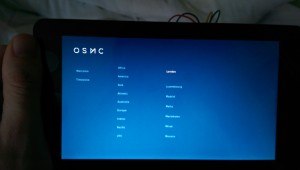
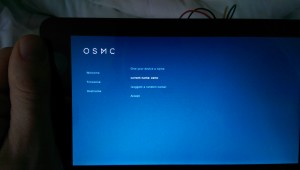
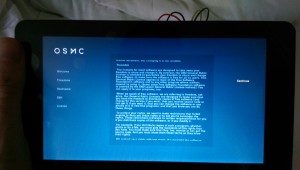
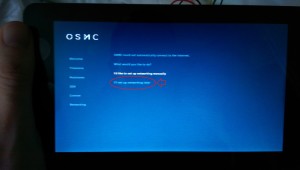
The device should then reboot and show you the default current mode, and after a while should take you through a setup process.
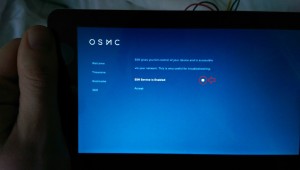 Make sure that SSH is NOT enabled
At this point I recommend shutting the device down using the shut down button in the lower left hand corner of the screen, to power the device on once shut down just pull the power out and plug it back in.


